
The mesh plate is the part that decides what your LabTIE dispenser can actually dose, so choosing it is the most important setup decision you will make. It comes down to four short steps.
Step 1. Identify your material
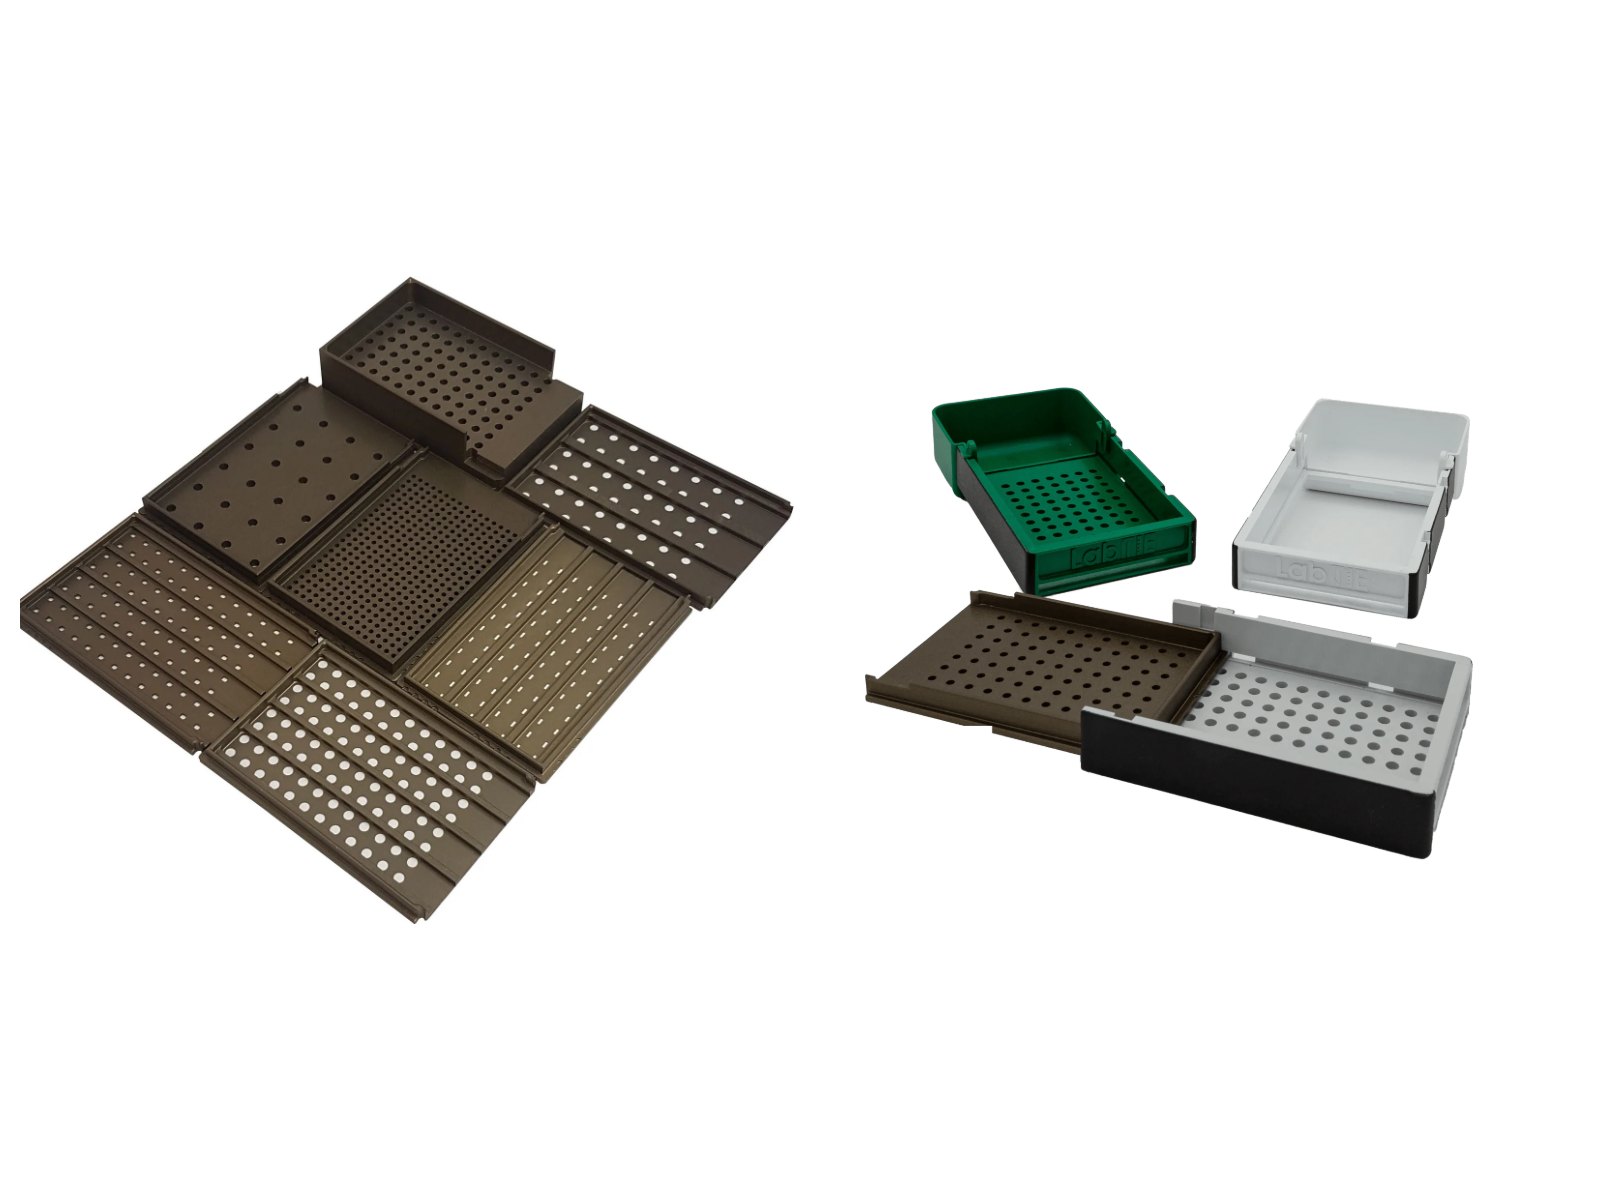
- Powders and beads smaller than 0.3 mm: use a Powder Dispenser mesh plate, covering roughly 5 to 1000 µL.
- Beads and grinding media from 0.3 to 6.0 mm: use a Bead Dispenser mesh plate.
- Seeds: use a Seed Dispenser mesh plate, available for more than 120 seed types.
Step 2. Identify your container
Standard grids come in 24, 48, 50, 96, 100 and 384 well layouts, plus tube and vial formats through a converter. If your container is not a standard format, our team can design a custom mesh plate and converter. More than 150 custom configurations have been built so far.
Step 3. Confirm your volume or count
For powders, give the target volume in µL. For beads, give the size and, if it matters, the number of beads per well. For seeds, say whether you need single seed or multi seed dispensing per action, and the seed type.
Step 4. Order the base set and any extras
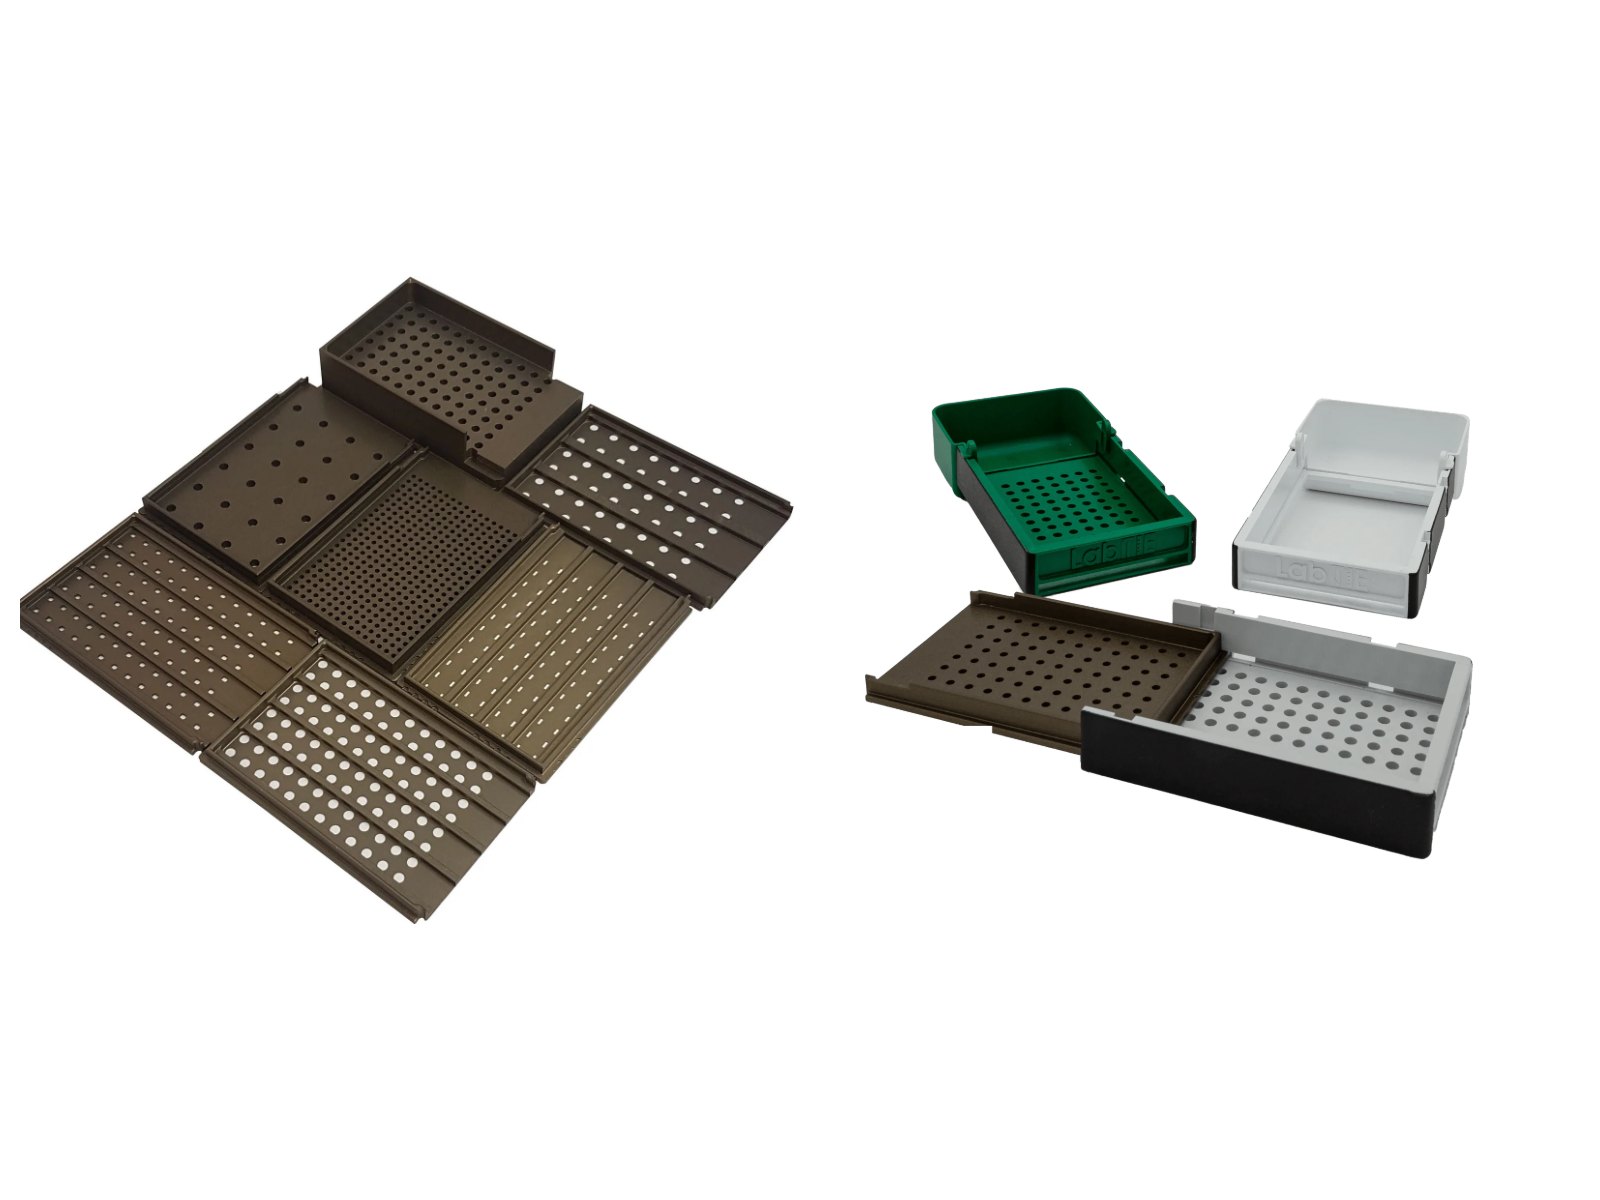
Each base set includes one mesh plate as standard. If your workflow needs a second converter or an extra mesh plate for a different well format, that is added as a separate line item, and our team confirms exact pricing when you request a quote.
Not sure which plate fits
Email us at moc.eitbal@ofni with your material, container format and target volume or count, and our team will recommend the right configuration, or design a custom one. You can also use the contact form.
Related
Every plate described here is listed per dose volume and hole size on the LabTIE dispenser mesh plates page.
Leave a Reply